Manual keystone projector correction is the process of manually adjusting a projector’s settings (digital or optical) to fix keystone distortion—ideal for scenarios where automated correction (auto keystone) fails to achieve perfect alignment, or for users who prefer precise control over the image. Unlike auto keystone (which relies on sensors to make adjustments), manual correction requires the user to visually assess the distorted image and tweak settings step-by-step, making it particularly useful for complex setups: projectors placed at extreme angles (e.g., far above a classroom screen), non-standard screen sizes (e.g., a custom 21:9 home theater screen), or environments with obstacles that block sensor detection (e.g., a conference room with large pillars). Manual correction preserves image quality when done correctly, especially when using optical adjustments (which avoid resolution loss from digital cropping).
Manual keystone correction is available in two forms: manual digital correction and manual optical correction. Manual digital correction is the most common (found in most projectors) and is controlled via the projector’s on-screen menu, physical buttons on the device, or a remote control. To use it: first, display a test image (e.g., a rectangular grid or a presentation slide with straight edges). Identify the type of distortion—vertical (image wider at top/bottom) or horizontal (image narrower on left/right). Access the keystone correction menu and select “manual vertical” or “manual horizontal.” Use the direction buttons (on the remote or projector) to adjust the distorted edge—for example, if the top of the image is wider, decrease the “top keystone” value to narrow it until the image becomes rectangular. It’s important to make small, incremental adjustments: large jumps can lead to over-correction (creating distortion on the opposite edge). After adjusting, check the entire image for residual distortion—zoom in on text or grid lines to ensure edges are straight.
Manual optical keystone correction (used in mid-to-high-end projectors with motorized lenses) involves adjusting the projector’s lens position (lens shift) or angle (tilt) to align the light path with the screen. Unlike digital correction, optical adjustment does not crop the image, so it preserves the projector’s full resolution. To perform manual optical correction: first, loosen the lens shift lock (if the projector has a manual lens) or use the remote control to access the lens shift menu (for motorized lenses). Adjust the vertical lens shift (to fix vertical keystone) by moving the lens up or down—this shifts the image without tilting the projector. For horizontal keystone, adjust the horizontal lens shift (if available) to move the image left or right. Some projectors also have a manual tilt adjustment (a knob on the projector’s base) to angle the device slightly up or down, further refining alignment. Optical correction requires patience: small adjustments to the lens can have a significant impact on the image, so it’s best to adjust while standing at the screen to view the result in real time.
Key tips for successful manual keystone correction include: using a high-contrast test pattern (black lines on a white background) to easily identify straight edges—this makes it simpler to spot residual distortion than a regular image. Avoiding over-correction: if the image becomes trapezoidal in the opposite direction, reverse the adjustment slightly until the rectangle is perfect. For projectors with both digital and optical correction, prioritize optical adjustment first (to fix major distortion without resolution loss), then use digital correction only for minor 微调 (fine-tuning). Finally, lock the settings after correction—most projectors allow saving keystone settings as a preset, so users don’t have to re-adjust if the projector is moved temporarily.
Manual keystone correction is a valuable skill for anyone using a projector in non-ideal setups. It ensures the image remains sharp, undistorted, and true to its original aspect ratio, delivering professional-quality visuals in home, office, or educational environments.
Read recommendations:
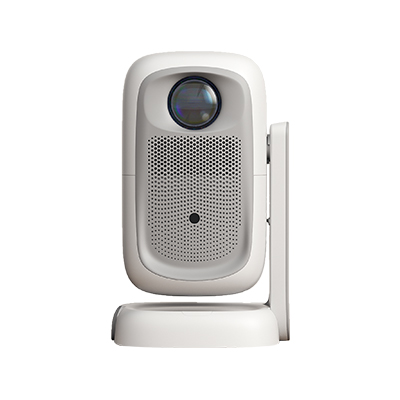
HW45 Home Cinema - HW Series Projector
The Update Frequency of Projector Intelligent Systems
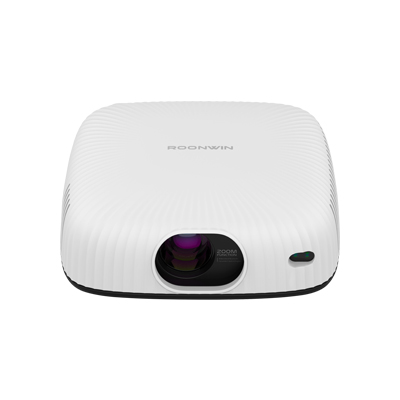
Keystone Correction 350 Projector


 Reviewed: